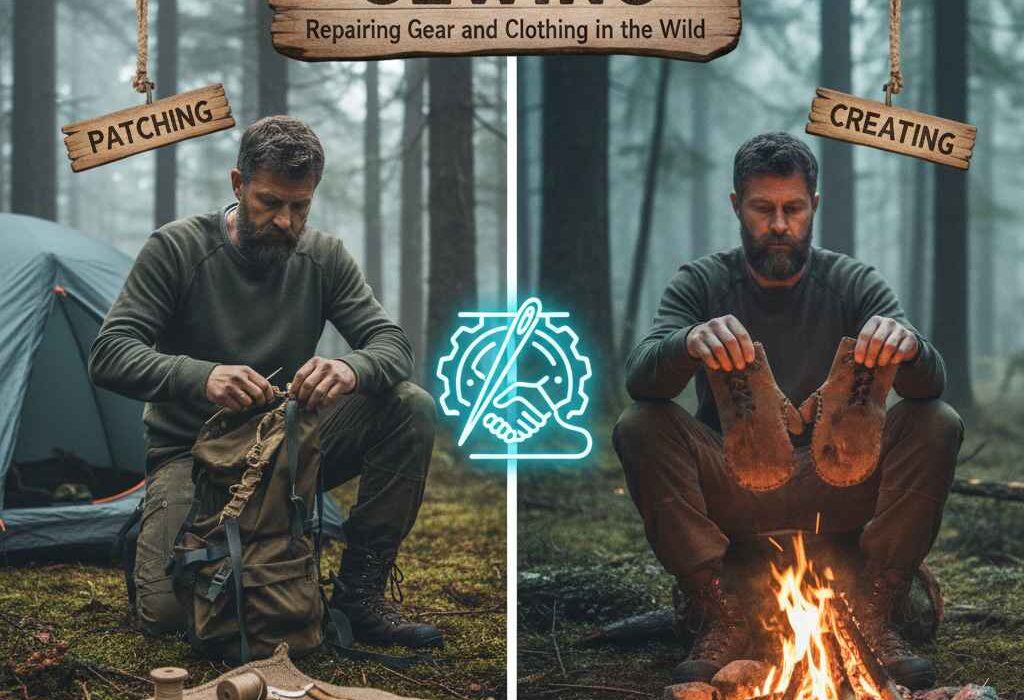
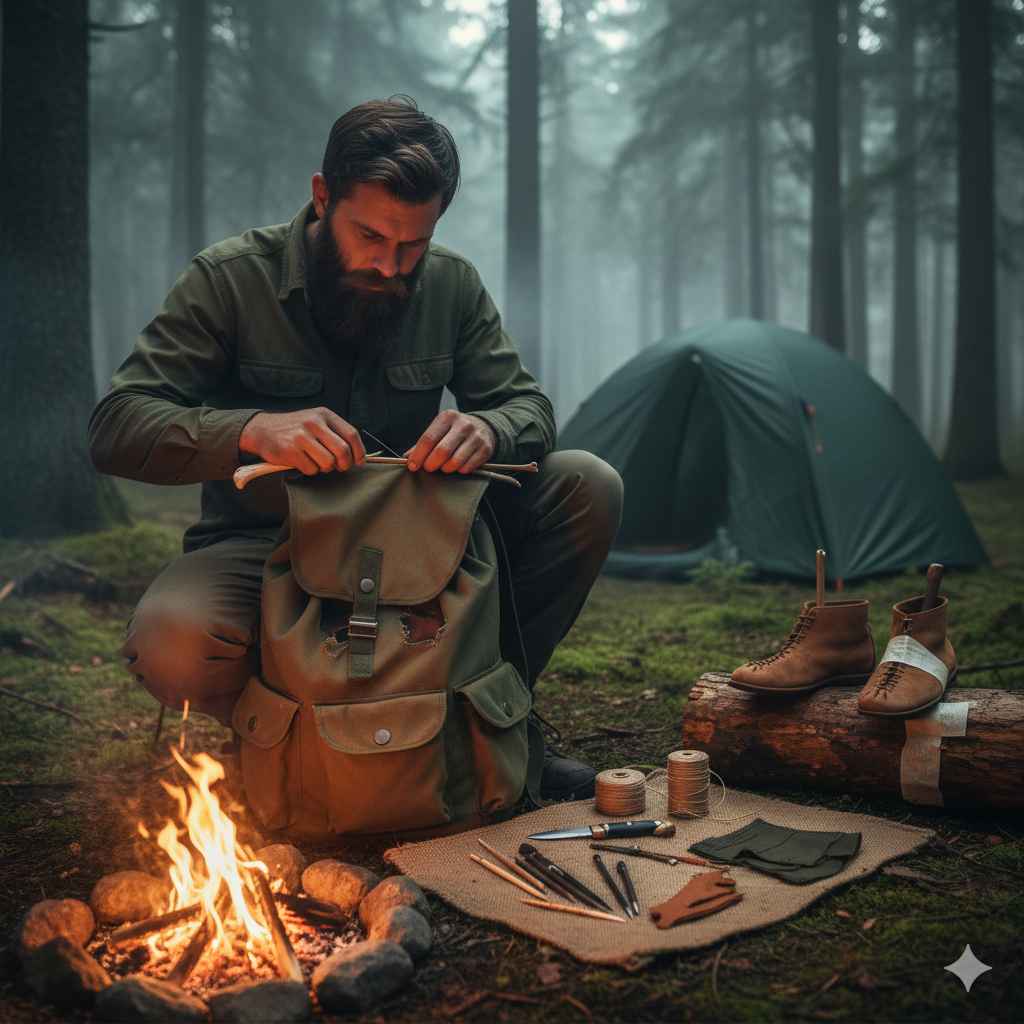
In the grand scheme of survival skills, the ability to repair gear and clothing is often overlooked in favor of more dramatic skills like fire-starting or shelter-building. But a tear in your jacket, a hole in your boot, or a rip in your backpack can quickly become a serious vulnerability. When you’re miles from civilization, duct tape is a good start, but knowing how to perform improvised sewing can provide a permanent, reliable fix that a temporary patch can’t. It’s a skill that requires patience, ingenuity, and a few basic materials that can be found or created in the wild.
The Importance of a Reliable Repair
A small hole can lead to a big problem. A tear in your jacket’s sleeve allows body heat to escape, increasing your risk of hypothermia. A hole in your boot can let in moisture, leading to blisters and trench foot. The ability to sew a durable stitch ensures your gear remains functional and your body remains protected from the elements. This is not about making a pretty stitch; it’s about creating a strong, load-bearing repair.
Sourcing Your Materials
The first step is to find or create the two essential components of any sewing kit: the needle and the thread.
1. The Improvised Needle:
- Bone: A thin, straight bone from a small animal (like a bird or a rabbit) or a splinter from a larger bone can be ground down to a sharp point. You can create a small “eye” at the end by grinding a notch and then using a sharp rock to carefully snap out the center.
- Hardwood: A sliver of hardwood, like oak or maple, can be carved to a sharp point. While not as durable as bone, it can work in a pinch.
- Thorns: A sturdy thorn from a plant like a locust tree can be used directly as a needle.
2. The Improvised Thread (Cordage):
- Plant Fibers: Many plants contain strong fibers that can be twisted into cordage. Cattails, nettles, and the inner bark of a cedar or basswood tree are excellent sources. Simply twist the fibers together until you have a strong, usable thread.
- Animal Sinew: Sinew, the connective tissue found in animal muscles and tendons, is an exceptionally strong and durable material. It can be harvested from a hunted animal, dried, and then split into thin strands to be used as thread.
- Other Materials: In an urban survival scenario, you can use strands from a shoelace, dental floss, or even a thin piece of wire.
The Basic Survival Stitches
Once you have your materials, you need to know how to use them. While there are many complex stitches, a few simple ones will cover most repair needs.
- The Running Stitch: This is the most basic stitch. Simply push the needle in and out of the fabric in a straight line. This stitch is great for light repairs but is not very strong.
- The Backstitch: This is a much stronger and more durable stitch. You take a stitch forward, then bring the needle back to the end of the previous stitch. This creates a solid line of thread on the outside of the fabric and is perfect for repairing a torn seam or a backpack strap.
- The Whipstitch: This stitch is excellent for joining two pieces of fabric together. You pass the needle through the edges of the fabric at a 90-degree angle, wrapping the thread around the seam. This is great for closing a seam or a tear and is very strong.
A Practice in Patience and Resourcefulness
Learning to sew in the wild is more than just a mechanical skill; it’s a practice in patience and ingenuity. It forces you to look at your environment in a new way, seeing potential in every bone, plant, and piece of wood. A reliable repair can mean the difference between staying warm and dry or succumbing to the elements, and in a survival situation, that difference is everything.