In survival situations, a reliable shelter can mean the difference between life and death. Exposure to the elements—rain, wind, extreme cold, or heat—can quickly sap your energy and endanger your health. Knowing how to build an improvised shelter using natural materials is one of the most essential survival skills you can have.
Even in unfamiliar terrain, understanding shelter principles allows you to stay protected, conserve energy, and improve your chances of survival.
🌲 Why Shelter Matters
- Protection from Weather: Rain, wind, sun, and snow can all be dangerous without shelter.
- Conserves Energy: Staying dry and warm reduces calorie burn and prevents hypothermia.
- Mental Stability: A secure shelter provides psychological comfort, reducing panic and stress.
- Safety from Wildlife: A shelter can keep insects, snakes, or other small animals at bay.
✅ Types of Improvised Shelters
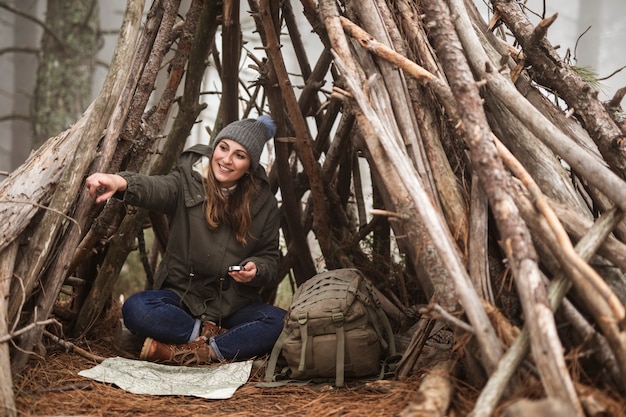
1. Lean-To Shelter
- Materials Needed: Branches, leaves, or tarp.
- Construction: Lean long branches against a support (tree or ridgepole) at a 45-degree angle. Cover with leaves, grass, or moss for insulation.
- Best For: Quick shelter in moderate weather.
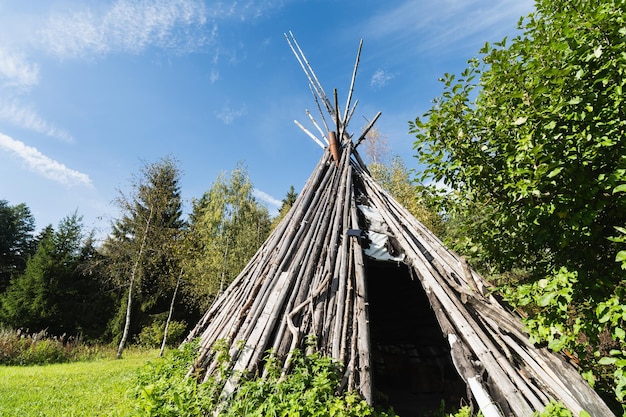
2. Debris Hut
- Materials Needed: Twigs, leaves, moss, and branches.
- Construction: Make a frame with two sticks in an “A” shape, then cover the frame densely with debris. Leave a small entrance for access.
- Best For: Cold weather survival; debris insulates body heat.
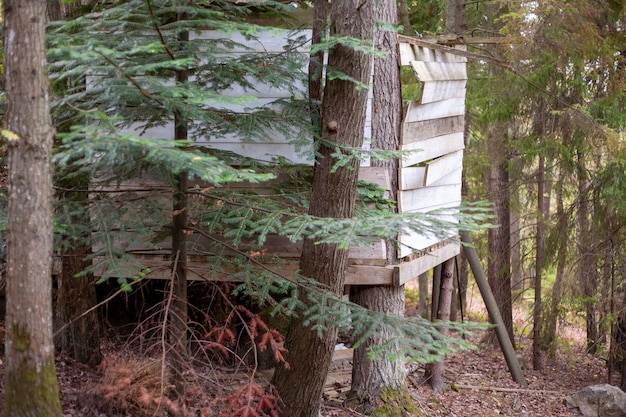
3. Log or Branch Shelter (Platform Style)
- Materials Needed: Large branches, logs, and leaves.
- Construction: Stack large branches to create walls, then cover with foliage or moss. Optionally, elevate the floor using smaller branches to stay off wet ground.
- Best For: Forested areas with moderate to heavy rainfall.
4. Snow Shelter / Quinzee
- Materials Needed: Snow and branches.
- Construction: Pile snow into a mound, let it settle, then hollow it out to create an insulated sleeping space. Vent holes are essential for airflow.
- Best For: Winter survival and cold climates.
5. Natural Cave or Rock Overhang
- Materials Needed: Existing rock formations and debris.
- Construction: Use available rocks and boulders as walls or roofing. Add leaves or moss for insulation.
- Best For: Rapid shelter in emergencies. Always check for wildlife before using.
🧩 Shelter Building Tips
- Location Matters: Choose flat ground, away from flooding or avalanche-prone areas. Avoid animal trails.
- Insulate Properly: Use leaves, moss, or pine needles for walls and flooring to retain heat.
- Keep Dry: Avoid low-lying areas where water collects. Layer materials to shed rain.
- Ventilation: Small openings prevent suffocation in snow or debris shelters.
- Practice Makes Perfect: Build shelters in your backyard to learn quick, efficient techniques before relying on them in the wild.
⚠️ Common Mistakes to Avoid
- Using wet materials—reduces insulation and increases hypothermia risk.
- Ignoring wind direction—shelter should block prevailing winds.
- Overcomplicating—simple, quick-to-build shelters often work better than intricate designs.
- Neglecting fire placement—don’t build fire too close to flammable debris.
🧠 Key Takeaway
Improvised shelters are a cornerstone of survival skills. By using natural materials effectively, you can protect yourself from the elements, conserve energy, and improve both your physical and mental endurance in the wild.
🔥 Pro Tip: Always carry a small tarp or emergency blanket in your bug-out bag. Even a basic tarp combined with natural materials can create a life-saving shelter in minutes.